
Step-by-Step Guide: How to Set a Custom Map as a Background in Roll20
Roll20 is a popular virtual tabletop platform for playing tabletop role-playing games online. Setting a custom map as a background on Roll20 can enhance your gaming experience. Here's a step-by-step guide on how to do it:
1. Prepare Your Custom Map:
Before you can set a custom map as your background, make sure you have a digital image of the map you want to use. This image should be in a compatible format like JPEG, PNG, or GIF and should ideally be square or rectangular.
2. Log In to Roll20:
Go to the Roll20 website (https://roll20.net/) and log in to your Roll20 account.
3. Create or Open a Game:
You can either create a new game or open an existing one where you want to use the custom map.
4. Enter the Game:
Click on the game you want to use the custom map in to enter the game's virtual tabletop.
5. Access the Page Toolbar:
On the virtual tabletop, you'll see a toolbar on the top right corner. Click on the "Page Toolbar" button, which looks like a little newspaper icon.
6. Open the Page Settings:
In the Page Toolbar, click on the "Page Settings" option. This will open a new window.
7. Upload Your Custom Map:
In the Page Settings window, look for the "Background" section. Here, you can upload your custom map as the background image.
Click the "Upload" button, and then select the image file from your computer.
8. Configure the Background Settings:
After uploading the image, you'll see some options to configure how the background should be displayed. You can set the image's dimensions, opacity, and alignment. Adjust these settings according to your preferences and the map's characteristics.
You can also choose whether the map should be "tiled" or "stretched" to fit the tabletop.
9. Save Changes:
Once you've configured the background settings to your liking, click the "Save Changes" button at the bottom of the Page Settings window.
10. Apply the Background to a Page:
After saving the changes, you'll need to apply the background to a specific page on your virtual tabletop. To do this, go back to the Page Toolbar and select the page where you want the custom map as the background.
11. Use the Custom Map:
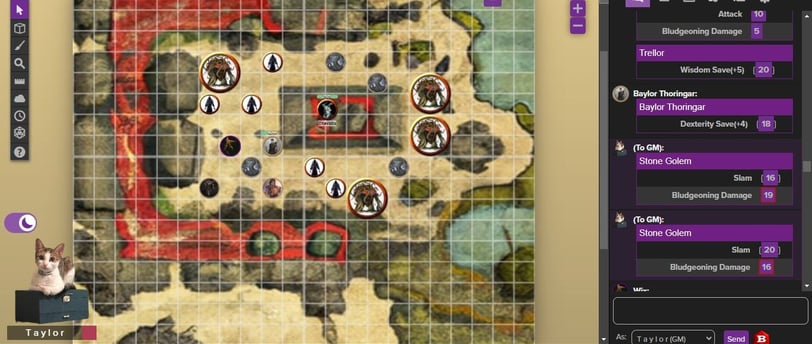
Once you've set the custom map as the background for the selected page, you can start using it during your game. You can add tokens, draw on the map, and move characters around as needed.
That's it! You've successfully set a custom map as a background in Roll20. Now you can use it to enhance your virtual tabletop gaming experience.